At a glance
- Move into room
Use the joystick to reach a position where you can turn toward the target without entering contact.
- Face the target group
Set the hunter's movement direction toward the zombies you intend to put inside the firing cone.
- Fire and read the result
Press FIRE once. Check which zombies died or lost health, then update your facing and ammunition plan.
Use movement to set your facing
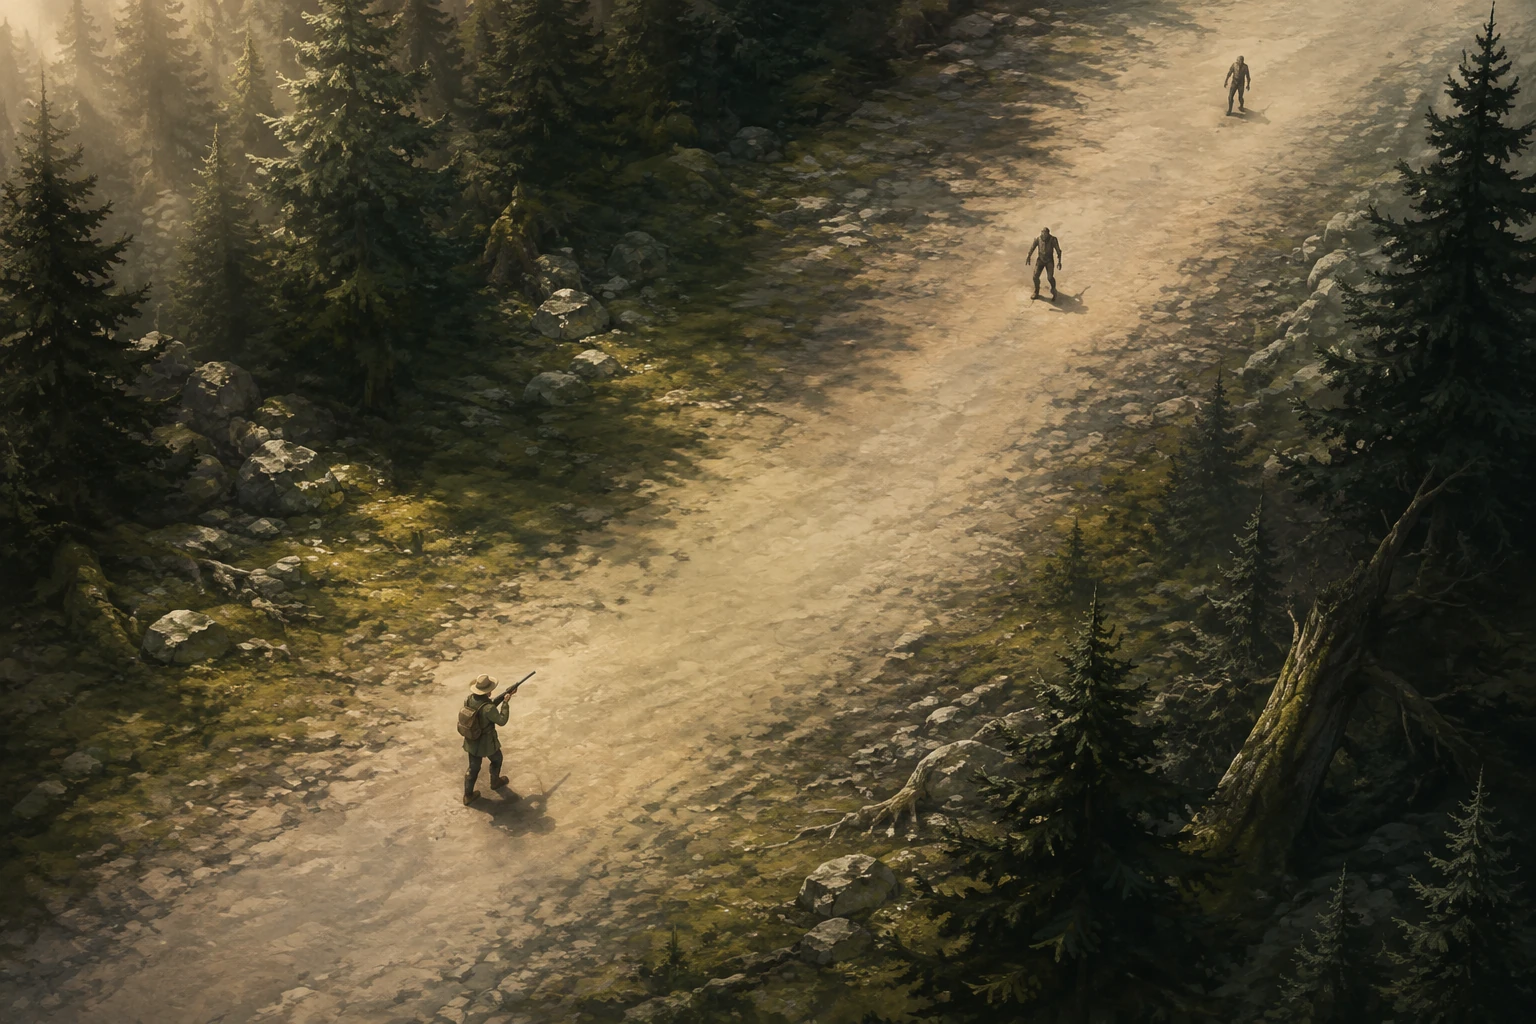
The floating joystick under your left thumb controls movement. The hunter turns to face that movement direction, while FIRE sits on the lower right. If you move away from a chasing zombie and immediately fire without turning, the shot follows the direction of your retreat. The pursuer behind the hunter is outside that forward cone.
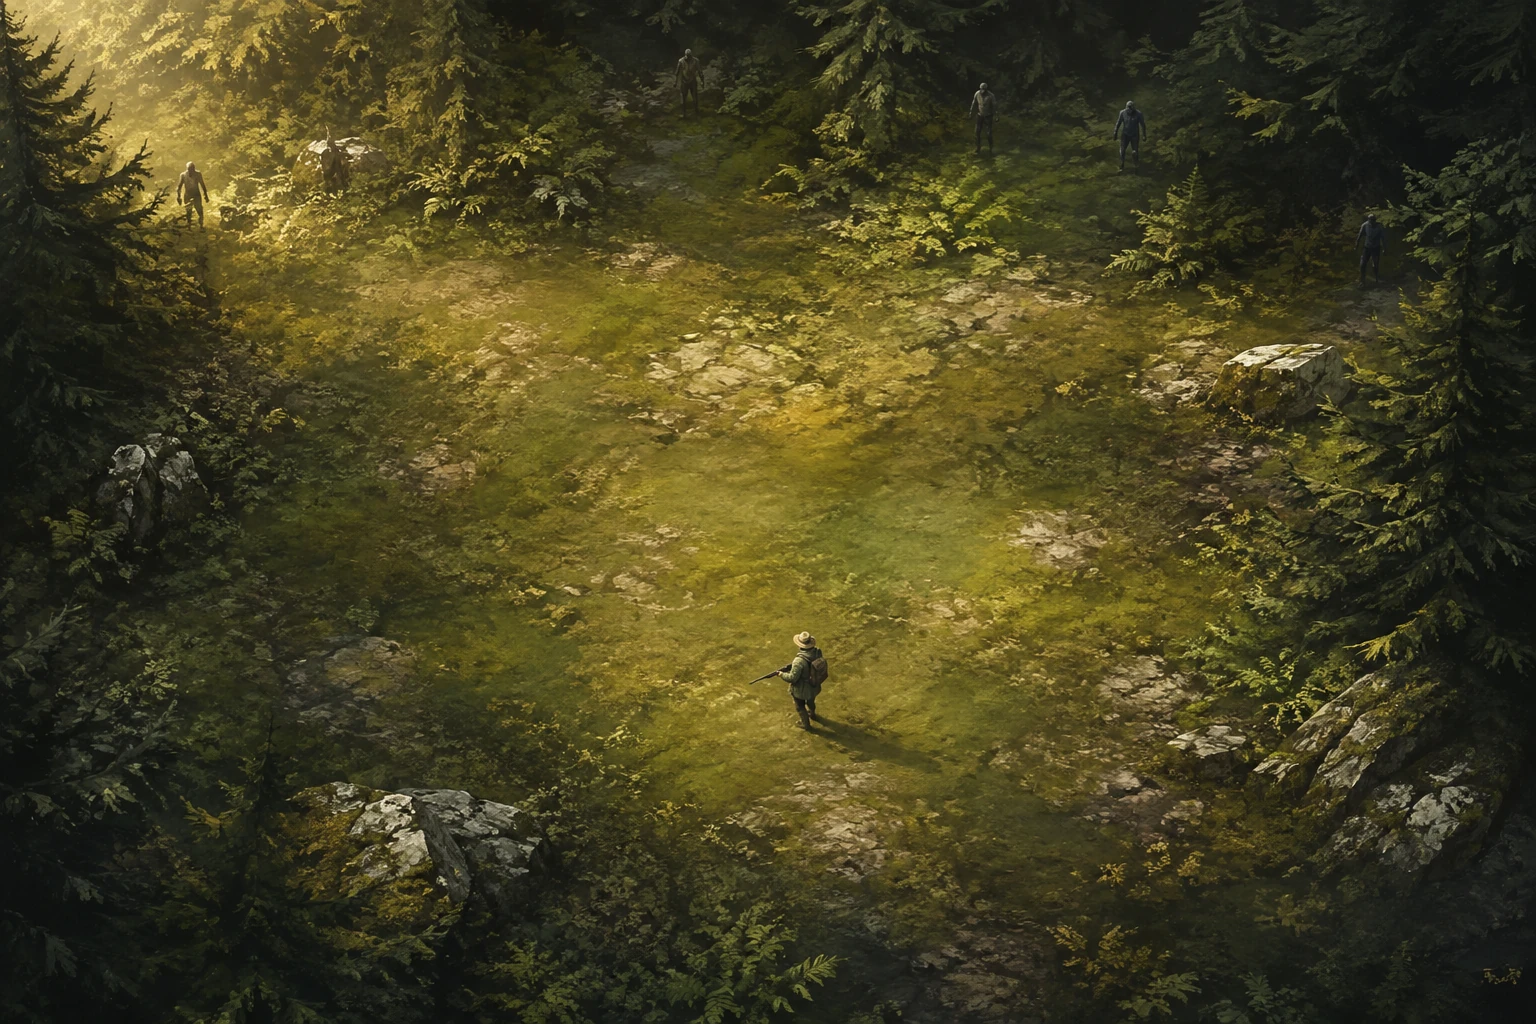
Create space before turning back toward a target. You need enough room to make the direction change without moving into contact. Start by practicing against the single zombie on level one: move to a useful position, face the zombie, and make one deliberate shot. The fixed camera keeps the entire clearing visible during the turn.
Understand what the cone can reach
The 45-degree cone has a limited forward range. A zombie must be inside both the angle and that range to take a hit. Being visible somewhere on the screen is not sufficient. If a target survives an apparent shot, consider its position and tier before deciding that another press in the same direction will work.
The cone is a group tool. Every living zombie inside it takes one hit, so you can attack several targets with the same press. There is no fixed kill cap per shot. However, a zombie off to the side or behind you receives nothing from a shot directed elsewhere, even when it is very close.

Choose a line before spending ammunition
Suppose two one-hit zombies approach from roughly the same direction. If you face the space containing both and they are within range, one shot can remove both for 20 points. If you fire while only one is inside the cone, the other survives and may require another shot. The score per kill stays the same either way.
Watching a group for a moment can therefore save ammunition, but waiting has a cost when it brings contact closer. Keep checking the sides of the clearing. A good line on two targets is less useful if a third reaches the hunter from behind before you can move away. Shoot earlier when it creates the route you need.
Distinguish a miss from a tougher target
Tiers one and two die from one valid hit. Tiers three and four need two, and tier five needs three. Damaged tougher zombies display an overhead remaining-health bar. If one remains standing after a hit, that bar gives you feedback that the shot connected and more damage is still needed.
For example, one tier-one zombie and one tier-three zombie can share the cone. The first shot kills the tier-one zombie and damages the tier-three zombie. A second valid hit finishes the tougher target. You have not missed simply because the pair did not fall together, and changing weapons is not part of the solution: the hunt uses one shotgun.
Reset your direction after each movement decision
Every change of movement direction changes where the hunter faces. Check that facing again after dodging toward a corridor, approaching a cartridge, or turning around a group. Do not rely on the direction of your previous successful shot. The next FIRE press resolves from the hunter's current facing when you press it.
Trees, rocks, and other scenery do not block the shot cone, so there is no projectile-cover puzzle to solve. Your useful checks are direction, range, target health, and the space around the hunter. If a group has spread beyond a safe shot, reposition or take an open exit instead of firing repeatedly and hoping the cone will follow the nearest zombie.
More questions
Does the FIRE button turn the hunter toward a nearby zombie?
No. FIRE resolves along the hunter's current facing direction. Use movement to set that direction before the shot; a nearby zombie behind the hunter is not automatically targeted.
Can a single shot kill a weak zombie and damage a tougher one?
Yes. Every living zombie inside the cone and within range takes one hit. A one-hit zombie can die while a tougher zombie survives with less health, so different results within the same group are expected.